

In this guide, we’ll walk you through adding a rotary & knob button to your existing Heltec V3 Lora Meshtastic Node to send canned messages (Pre-Defined Messages). This guide will work also for any ESP32 boards but slight changes might be required to the selected pin. For ESP32 make sure you choose empty pins and adjust the settings to the pins chosen.
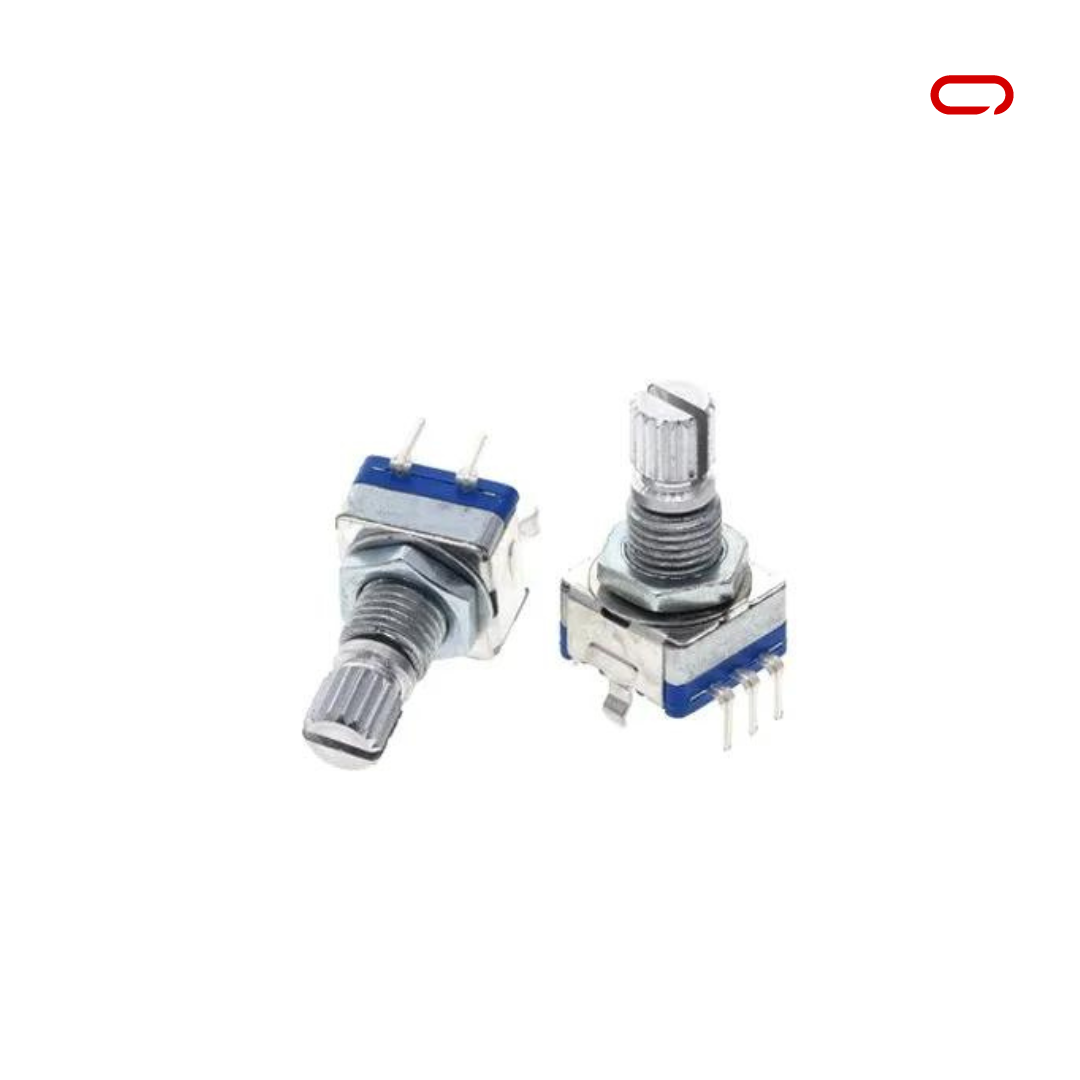
Hardware
Now let’s get started with the hardware you need:
Assembly
The hardware is all ready and set now to the wiring. For this, we will follow the following Schematics.
EC11 Digital Potentiometer – Heltec V3 Lora Meshtastic Node
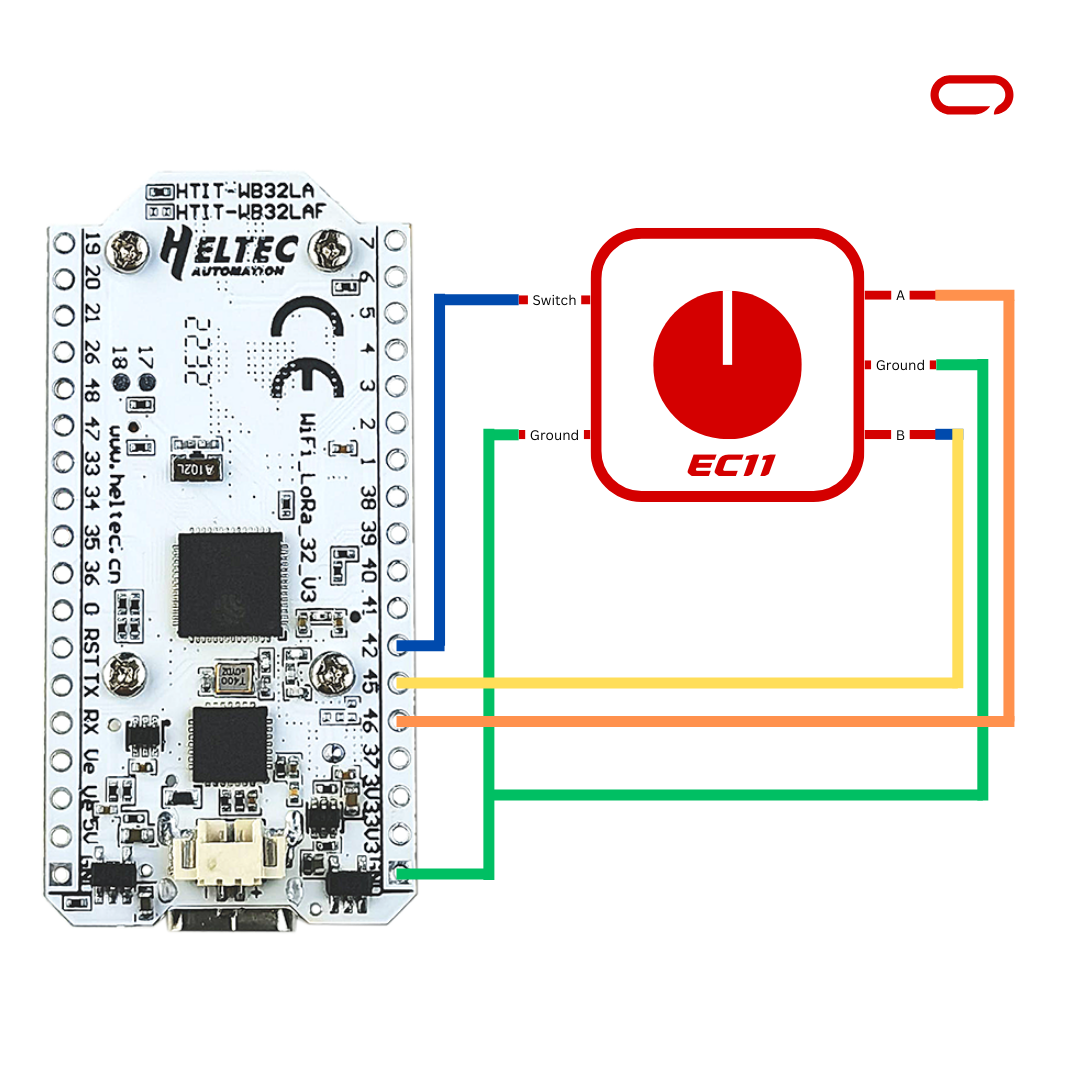
- Switch-> PIN 42
- A ->46
- B – > 45
- GND -> GND
💡
The EC11 Digital Potentiometer Module presents a unique challenge with its non-standard pin configuration, requiring careful attention when connecting jumper cables, users may need to resort to soldering cables in place
💡
Capacitors are good practice for decoupling one part of a circuit from another
💡
It’s Important To Note That The Order Of The Connections Might Vary. Follow The Labels And Io Ports On Your Specific Components And The Provided Schematics To Ensure Accurate Wiring. Paying Attention To These Details Ensures That You Establish The Correct Connections And Avoid Potential Issues or Damaging Your Components
Once all the wiring is completed. Double-check your connections and ensure they match the suggested layout before proceeding to the next steps.
Meshtastic Settings
On the Sensor Device
- Open Meshtastic App (IOS for this guide)
- Go to the Settings page
- In the module configuration section go to Canned Messages
- Toggle the switch to enable Enable
- Set your messages separated by ‘ | ‘
- Set PIN A to 46
- Set PIN B to 45
- Set PIN Press to 42
- Leave Key Mapping as default or change it if you want to customize the control
- Lastly, press Save
Now you can scroll up and down through your canned (pre-defined) messages and simply press the rotart button down to send a message.
In conclusion, this guide provides a comprehensive walkthrough for enhancing your Meshtastic Node by adding a rotary knob button to facilitate the sending of pre-defined messages. The simplicity of scrolling through pre-defined messages and sending them with a press of the rotary knob button provides a user-friendly and intuitive way to communicate essential information. This can be particularly beneficial in emergency situations, where you don’t have access to your phone.
I have been surfing online more than 4 hours today, yet I never found any interesting article
like yours. It is pretty worth enough for me.
Personally, if all web owners and bloggers made good content as you did, the
internet will be a lot more useful than ever before.
Appreciated!
I simply could not go away your site prior to suggesting that I actually loved the usual information an individual supply on your guests? Is gonna be again incessantly in order to check up on new posts.